
I harbored visions
of grandeur with this post. I had meant to get it on the blog for Halloween. There
was going to be an epic All Hallows’ Eve bonfire, and my photo lineup would be
abundant with pictures of sparkling autumn-themed decorations—not to mention
the beautifully gooey s’mores roasted over an open fire. In my head it was
glorious.


So I spent the day
of Halloween making marshmallows and graham crackers with an adorably
Goth-themed Canadian children’s cartoon on in the background (thank you,
Netflix!) and prepared for the multitude of trick-or-treaters (who never
came—it was an undersized handful of toddlers and their parents)…and then the
evening turned. Normally Halloween weather is pretty mild, but this year we had
“a dark and stormy night”—appropriate for the holiday, but not conducive to
bonfires.


Before I knew it,
I got caught up in law school applications, upcoming stories for the OC
Register…and I got lazy. I also just got sick. But then I got a craving for
something sweet, and since I just happened to have some leftover s’mores
paraphernalia, I decided to get off the couch and throw away my mountain of
used tissues and take the opportunity to age a few pieces paper with coffee for
a backdrop, roast some marshmallows, and get pictures.


I got a headache
in the process, as well as sticky hands and great smears of chocolate on my
chin. Put simply, I was a hot mess, but my craving was satisfied. There really
is no cute way to eat a s’more, especially when you currently have no other
choice but to breathe through your mouth, but what can you do? Also…
Homemade graham
crackers > Store bought graham crackers, and
Homemade
marshmallows > Store bought marshmallows
So if you put
homemade graham crackers together with homemade marshmallows and throw in some
good quality chocolate, you can only imagine what happens.


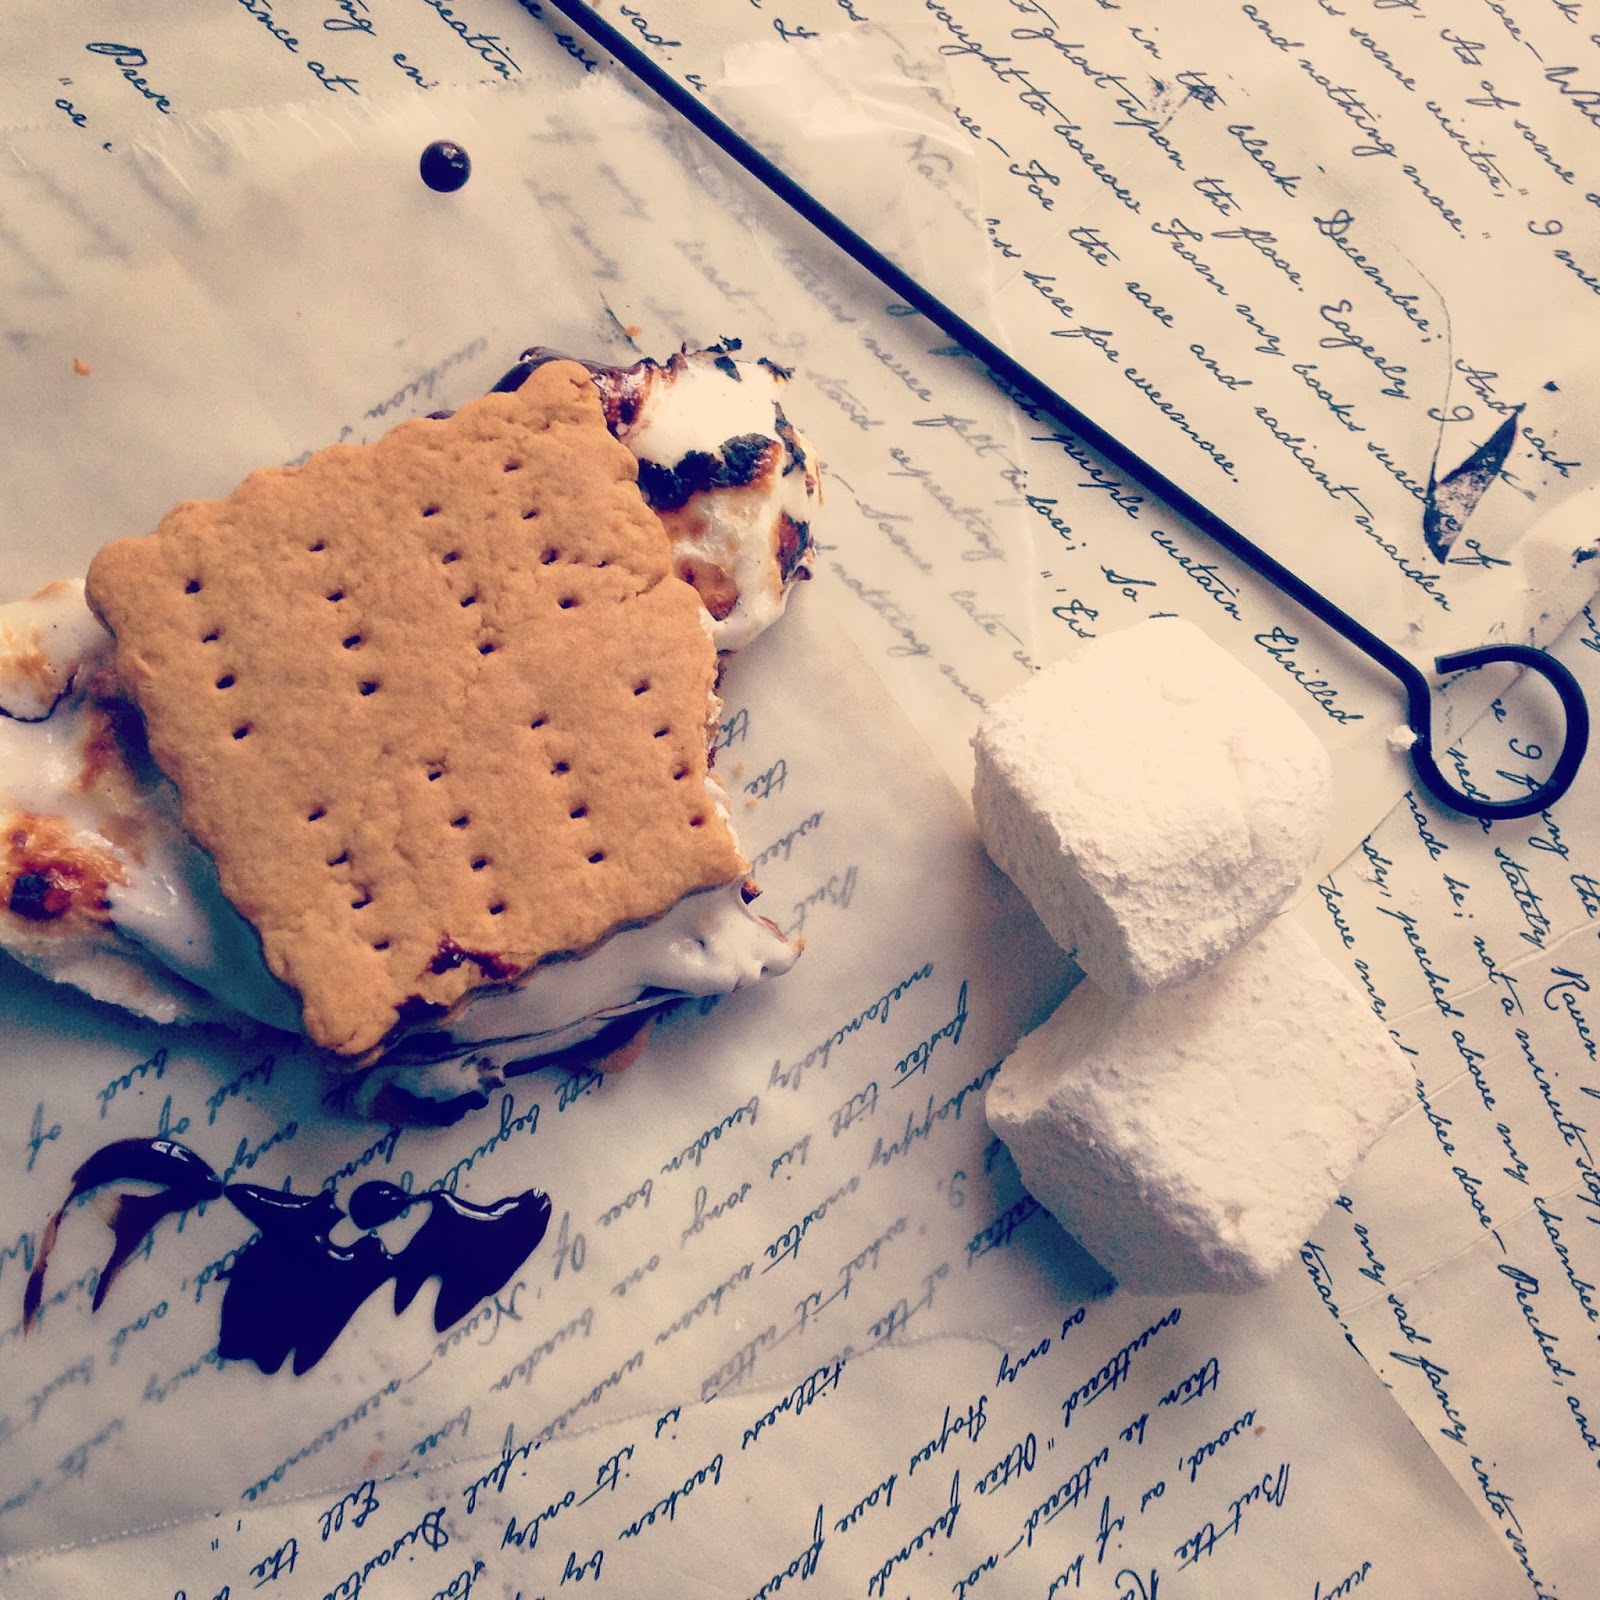
Homemade s’mores
will change your life. The little bit of salt in the graham crackers adds just
enough salty to balance the sweetness of the marshmallows, which are much
fluffier and lighter than store bought. I love seeing flecks of vanilla bean in
things that are vanilla flavored, so they’re also a tad prettier than the ones sitting
in plastic bags on the store shelf for who knows how long. And going back to
the graham crackers…these aren’t crumbly squares of cardboard. They are soft
and nutty and slightly sweet. Trust me, it really is worth the effort.

I suggest making
everything ahead of time, especially the marshmallows as they need to set for a
few hours in order to transform from fluff into something sliceable. As for the
chocolate, I used Godiva’s 72% Dark Chocolate Bar.
I hope you enjoy
my post-Halloween offering. I do have something planned for Thanksgiving…here’s
hoping that I can get it posted while it’s still November!
Homemade S’mores
Vanilla Bean Marshmallows: (adapted from Ina Garten)
3 packages gelatin
1 1/2 c. sugar
1 c. light corn syrup
1/4 tsp. kosher salt
1 vanilla bean, seeds scraped with a small paring knife
2 tsp. vanilla extract
1/4 c. powdered sugar
1/4 c. cornstarch
- Place the gelatin along with 1/2 c. water in the bowl of a stand mixer, and let it stand while you make the sugar syrup.
- In a medium-sized saucepot, combine the sugar, corn syrup, salt, and 1/2 c. water and cook it over medium heat until the sugar has dissolved. Then turn the heat up to high, and cook the syrup for 7-8 minutes, or until it reaches 240º on a candy thermometer. Immediately remove the pot from the heat.
- Turn the stand mixer, fitted with a whisk attachment, on low speed and then slowly and carefully drizzle the hot syrup down the side of the bowl in a steady stream. Be careful that you don’t pour the syrup directly onto the whisk—it will turn the sugar syrup into hard spun sugar.
- Once you have poured all the syrup into the bowl, put the mixer on high speed and whip the mixture for 14 minutes. It will transform before your eyes into a beautifully fluffy, shiny, cloud-like mass.
- Pour in the vanilla and tap the vanilla bean seeds into the bowl and continue mixing the marshmallow fluff for one more minute. (The vanilla bean pod can be placed in jar of granulated sugar to make vanilla sugar.)
- Whisk together the powdered sugar and cornstarch in bowl. Spray a 9x13” dish with cooking spray, making sure to get all the corners and sides, then dust it with just enough of the powdered sugar mixture to evenly coat the entire pan.
- Spray a rubber spatula with cooking spray and use it to scrape the marshmallow fluff into the pan. The fluff will be too sticky to get all of it, but do the best you can—you can always save the leftover fluff to snack on while the marshmallows set.
- Dampen your hands with a little bit of water and pat the top of the marshmallow block to smooth it out. Sift more of the powdered sugar mixture onto the exposed surface. Allow the marshmallows to set at room temperature for at least four hours and up to overnight.
- Cut the marshmallows into squares with an oiled knife, and then toss each square in the powdered sugar mix to cover all the sticky edges.
Graham Crackers:
1 c.
whole wheat flour
1
1/2 c. all-purpose flour
1/2
c. brown sugar
1/2
tsp. salt
1
tsp. baking soda
1/2
c. butter, cold and cubed
1/4
c. honey
1/4
c. milk
2
tsp. vanilla
- Preheat the oven to 350º F and line a baking sheet with parchment paper.
- In a large bowl, whisk together the two flours, brown sugar, salt, and baking soda.
- Cut in the butter, rubbing the butter with your fingertips or using a pastry cutter, until the mixture becomes grainy.
- Pour in the honey, milk, and vanilla and stir until the mixture forms a dough.
- Dump the dough onto a floured surface and roll it to 1/8” thickness. Cut into squares, or whatever shapes suit your fancy. Place them on the baking sheet and freeze until the oven is ready.
- Bake the graham crackers for 15 minutes, until they are darkened at the edges.
To melt the chocolate: Break up your chocolate bar,
either milk or dark, into pieces and place them into a microwave-safe bowl.
Microwave for 1 minute, then take it out and give the chocolate a stir. Then
zap the chocolate for 30-second intervals, stirring after each interval, until
the chocolate is smooth.
To assemble the
s’mores: (As if you need help with this, but just for the sake of being
thorough…) Turn on one of your stovetop burners to medium heat. Skewer one or
two marshmallows on metal skewer and toast the marshmallows to your liking.
Slather some of the melted chocolate onto a graham cracker, and then slide the
marshmallows on top. Smear whatever marshmallow fluff remains on the skewer
onto a second graham cracker and gently press the two cookies together.
Prepare to get utterly messy, and then stuff the s’more into
your face.